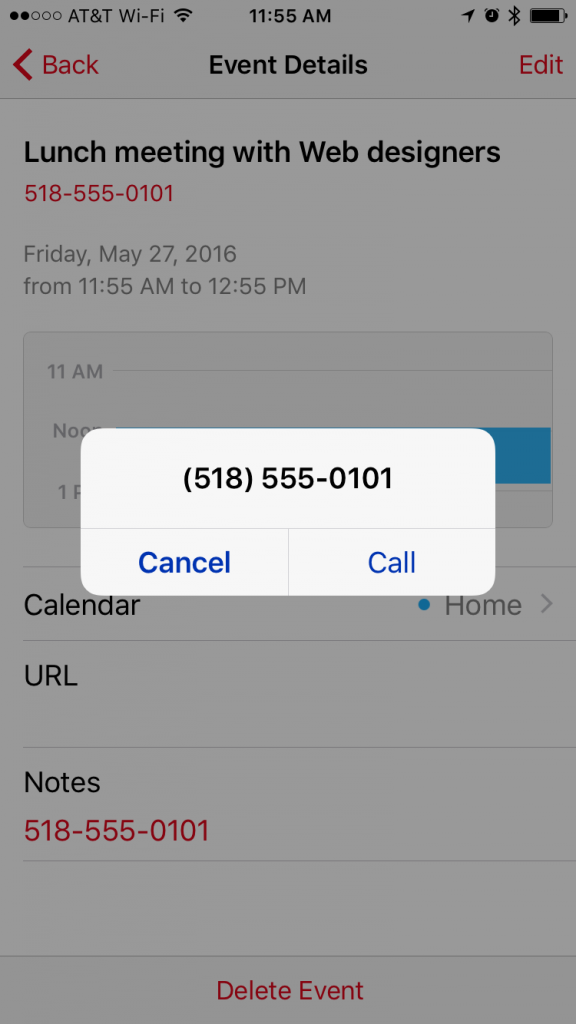
![]() Let’s say you’re setting up a lunch with a contractor, and you want to make it easy to call them when your iPhone alerts you to the meeting. Or perhaps you want to embed conference call details into an event. A little-known fact about the Calendar app is that you can enter phone numbers into the Location field, and whenever you’re viewing the event later, you can tap a number to dial it directly (if you need a real location in the Location field, use the Notes field for the phone number instead). To add
Let’s say you’re setting up a lunch with a contractor, and you want to make it easy to call them when your iPhone alerts you to the meeting. Or perhaps you want to embed conference call details into an event. A little-known fact about the Calendar app is that you can enter phone numbers into the Location field, and whenever you’re viewing the event later, you can tap a number to dial it directly (if you need a real location in the Location field, use the Notes field for the phone number instead). To add  a meeting code to a conference call number, append a semicolon, the meeting code, and the pound symbol—after the iPhone dials the phone number, you can press a button to dial the code at the right moment. The entire thing would look like 518-555-0101;123456#. For a more automated, but potentially error-prone approach, replace the semicolon with one or more commas, each of which causes the iPhone to pause for 2 seconds before dialing the rest of the numbers. Finally, if you seemingly spend your life in conference calls, check out the MeetingMogul app for making dialing in even easier.
Category Archives: Tip
Auto Added by WPeMatico
Check Internet Speeds to Troubleshoot Netflix
![]() Whether you watch Netflix on your iPhone, iPad, Mac, or Apple TV, the quality of the video—and whether it stutters or skips—is determined by the bandwidth of your Internet connection. Netflix recommends 25 megabits per second (Mbps) of download speed for Ultra HD quality, 5 Mbps for HD, and 3 Mbps for SD. Netflix says that 1.5 Mbps is the lowest recommendation for a broadband connection,
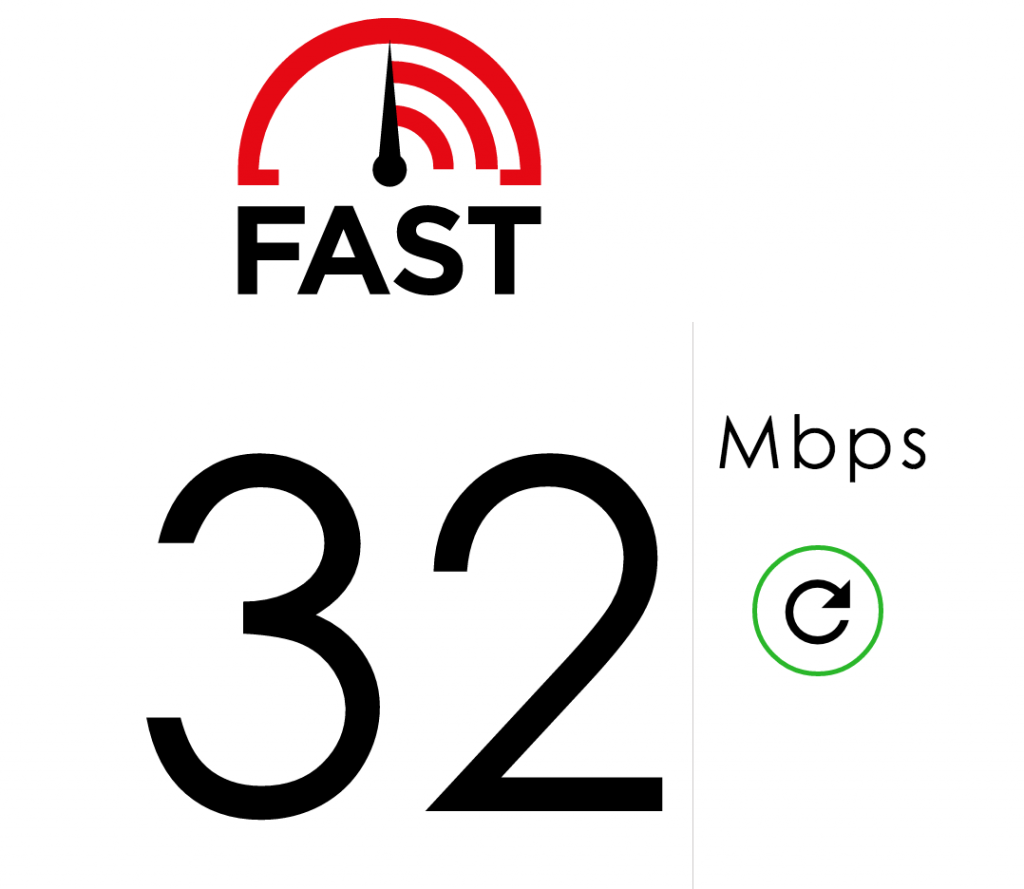
Whether you watch Netflix on your iPhone, iPad, Mac, or Apple TV, the quality of the video—and whether it stutters or skips—is determined by the bandwidth of your Internet connection. Netflix recommends 25 megabits per second (Mbps) of download speed for Ultra HD quality, 5 Mbps for HD, and 3 Mbps for SD. Netflix says that 1.5 Mbps is the lowest recommendation for a broadband connection,  and notes that 0.5 Mbps is the minimum required. So how do you tell what your real-world download speed is? Check Netflix’s new fast.com Web site, which is a quick and easy way to determine how much bandwidth you get. And if what you see doesn’t match with what you think you’re paying your Internet service provider for, call the ISP and make sure your connection is working properly.
Paste without Formatting on the Mac
 When you copy text from a Web page, PDF, or word processing document, OS X usually includes formatting, so the words you paste may be 56 point blue italic if that was what the source text looked like. That may be appropriate at times, but often you want the text to take on the (more restrained) styling of the text where you’re planning to paste it. Rather than reformatting after pasting, in most Mac apps, try using the Edit > Paste and Match Style command (sometimes called Paste Text Only or Paste without Formatting) to paste the text such that it takes on the style of the surrounding words in the destination. Apple’s default keyboard shortcut for this is Command-Shift-Option-V, but some apps may use a different one. If you regularly need this capability in an app that doesn’t support it, consider using a clipboard utility app, like Keyboard Maestro, to make your own universal Paste Text Only hotkey.
Find Buried Options in the iOS Settings App
![]() iOS 9 offers about 40 top-level categories in its Settings app and seemingly innumerable options in those categories. How can you find a little-used setting, particularly since Apple sometimes moves things between categories during major iOS releases? The solution is the Settings app’s hidden Search field. To reveal it, pull down on the main settings screen (iPhone) or left sidebar (iPad). Tap the Search field, enter text describing the setting you want to find (try typing Fa to find Facebook, FaceTime, and Safari Favorites), and the results appear immediately. Tap a result to jump to it, but also notice that each result shows a path, so you can find that setting manually in the future.
iOS 9 offers about 40 top-level categories in its Settings app and seemingly innumerable options in those categories. How can you find a little-used setting, particularly since Apple sometimes moves things between categories during major iOS releases? The solution is the Settings app’s hidden Search field. To reveal it, pull down on the main settings screen (iPhone) or left sidebar (iPad). Tap the Search field, enter text describing the setting you want to find (try typing Fa to find Facebook, FaceTime, and Safari Favorites), and the results appear immediately. Tap a result to jump to it, but also notice that each result shows a path, so you can find that setting manually in the future.
Type Accented Characters and URLs Faster in iOS
Did you know that many keys on the small iPhone keyboard are hiding additional characters? To type an O with an umlaut, for instance, press and hold the O key, and a popover appears with accented variants of O. Without lifting your finger, slide it over the Ö and then pick it up to insert that character. This trick is also useful for getting different dashes (under the Hyphen), different currency symbols (under the $), curly quotes, and more. The most interesting one? When the Period key appears on the main keyboard screen, as it does in Safari or Mail when entering a URL or email address, press and hold on the Period, and you can quickly select from .us, .edu, .net., .org, or .com to finish the address you’re typing.
Select List Items from the Keyboard
Even if you already know this tip, you may not have realized all the places where it works. When you find yourself in a list, as in a Finder window, an Open dialog, or a set of autocomplete options, you can usually press keys on the keyboard to navigate within the list. Press M, and you’ll drop down to the first item whose initial letter is M. If multiple items start with M, use the Up and Down arrow keys to move more precisely, one item at a time. And rather than clicking an Open or OK button, try pressing Return to activate the item. So if you assumed you had to use the pointer to scroll through lists and click list items, try the keyboard—it’s faster to type W than to scroll all the way down to WY in a list of states.
Find on Page in Safari in iOS
Picture yourself looking for something specific on a long Web page on the small iPhone screen. Did you know that you can search through just the text of the page? Tap the Share button, and in the bottom row of icons, swipe left until you see Find on Page. Tap that, and then enter the word you’re looking for in the search field that appears. The Up and Down arrow buttons in the upper left of the keyboard help you find subsequent instances of your search term.
Find System Preferences Faster by Sorting Alphabetically
By default, System Preferences in OS X organizes its preference panes by category. However, it doesn’t label the categories, making the organization nearly inscrutable. If you have trouble finding the Accessibility preference pane, for instance, which ends up in the bottom right when sorted by category, there’s a better way. With System Preferences open, choose Organize Alphabetically from the View menu (yes, System Preferences has menus!) to arrange the icons alphabetically by name, putting Accessibility in the upper left. The preference panes are also listed alphabetically in that View menu. If even the name escapes you, use the Search field at the upper right of the System Preferences window to search for words related to the setting you’d like to adjust, like “time” to tweak how the date and time appear in the menu bar.